Pack Separate Hot And Cold Lunch Components
A practical step-by-step guide to pack separate hot and cold lunch components, including preparation, instructions, common issues, tips, and next steps.
Pack Separate Hot And Cold Lunch Components
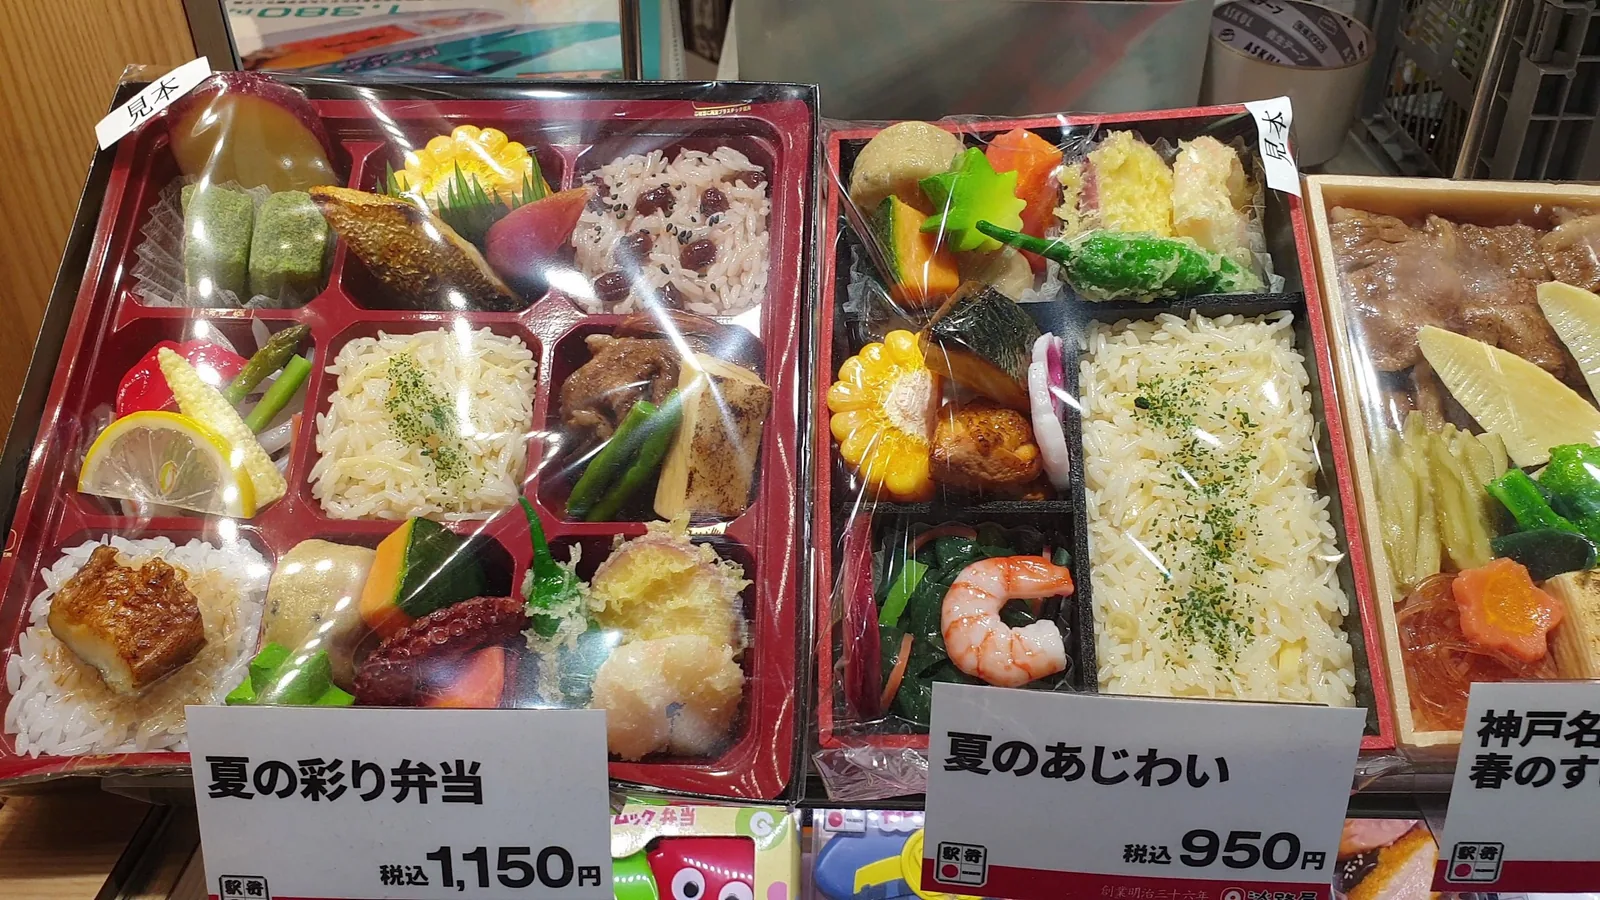
Packing hot and cold lunch components together takes a little planning, but it keeps every part of the meal at the temperature it should be when you open the bag. The goal is simple: separate the heat from the cold with a barrier, a container, or a layout choice, and check the result before you leave. This guide walks through preparation, packing order, and small checks that prevent soggy bread, warm yogurt, and lukewarm soup.
Fast Answer
- Use two insulated containers when possible: one for hot food and one for cold food, then place a barrier between them inside the bag.
- If you only have one bag, pack the cold items at the bottom and the hot item on top inside its own sealed container, never loose.
Before You Start
- Wash and dry every container, lid, and seal the night before so no trapped moisture or old odors affect the food you pack.
- Preheat the hot container with boiling water for a few minutes, then empty and dry it right before adding hot food.
- Chill the cold container or cold pack in the refrigerator overnight so it starts the trip already cold.
- Set out a small towel or cloth barrier to place between hot and cold sections inside the lunch bag.
Step-by-Step Instructions
Plan the two-temperature layout
Before you cook or pack anything, decide which items are hot, which are cold, and which are shelf-stable. Write a quick mental list: soup, leftovers, or a cooked main dish go in the hot group; salad, yogurt, cut fruit, and dressings go in the cold group; crackers, nuts, and whole fruit can sit between them. This order matters because it tells you how many containers and barriers you need before you start. A practical check is to count the groups and confirm you have one sealed hot container, one sealed cold container, and at least one dry barrier. Doing this first prevents the common mistake of packing hot food and then realizing there is no separate space for cold items, which forces you to crowd them together and defeat the whole purpose of the setup.
Prepare and preheat the hot container
Fill your hot container with boiling water, close the lid, and let it sit for about five minutes while you finish other tasks. Then empty the water, dry the inside quickly, and add the hot food immediately. This step matters because a cold container pulls heat out of the food right away, and the food may drop below a comfortable serving temperature before lunch. A practical check is to touch the outside of the container after filling it with hot food; it should feel warm within a minute. If it stays cool, the container is not holding heat well and you should use a different one or add a second layer of insulation. Keep the lid closed until the food is ready to eat, and avoid opening it just to look inside.
Chill and seal the cold components
Place cold items in their container or bag first, then add a cold pack beside them, not on top of fragile food. Seal the cold section completely so moisture cannot escape and dampen the hot container or the bag itself. The reason for sealing cold items before packing is that condensation and leaks are the main causes of soggy bread and ruined textures. A practical check is to turn the sealed cold container upside down over the sink for a few seconds; if water appears, reseal it or move the contents to a different container. Cold food should feel chilled when you close the bag, not merely cool, because it has to stay cold for several hours. If you are packing a salad, keep the dressing in its own small sealed bottle and add it at lunchtime.
Build the barrier between temperatures
Now create a physical separation between the hot container and the cold section. You can use a folded cloth, a small towel, a piece of cardboard, or a dedicated insulated divider. Place the barrier so it touches both sides and leaves no open gap where heat can travel. The order here is important: put the cold items in first, then the barrier, then the hot container on the opposite side or on top. A practical check is to press gently on the barrier and confirm it stays in place when you close the bag. If it slides, tuck it under the cold container or use a larger cloth. This barrier is not about perfection; it is about slowing heat transfer long enough for the meal to stay pleasant. Even a simple layer of fabric makes a measurable difference over several hours.
Load the bag in the right order
Place the heaviest and coldest items at the bottom of the bag, then the barrier, then the hot container on top if the bag stands upright. If your bag lies flat, put the cold items on one side and the hot container on the other, with the barrier between them. This order keeps the cold mass low and stable while the hot container rests above it, reducing direct contact and preventing leaks from dripping onto other items. A practical check is to close the bag and lift it gently; nothing should shift or slosh. If it does, rearrange the contents and add a small cloth to fill empty space. Empty space lets containers move and collide, which can pop lids open. A snug but not forced fit is what you want.
Do a final temperature and leak check
Before you leave, open the bag one last time and check three things: the hot container is still warm on the outside, the cold container is still cool, and no liquid has pooled at the bottom. This check takes only a moment and catches problems while you can still fix them. The reason it matters is that a small leak or a loose lid early in the day becomes a much bigger problem by lunch. If the hot container feels cool, reheat the food and use a better container or add a second barrier. If the cold container feels warm, add another cold pack or move the cold items to a smaller container. Once everything checks out, close the bag and keep it out of direct sun and away from strong heat sources until mealtime.
Quick Reference
| Situation | Action | Why it helps |
|---|---|---|
| You only have one lunch bag and need to carry both hot soup and a cold salad. | Place the sealed salad at the bottom, lay a folded dry cloth over it as a barrier, then set the sealed soup container on top and close the bag without shaking it. | Cold food stays colder when it sits below the hot item, and the cloth slows heat transfer so the salad does not warm up before lunch. |
| Your hot food cools down too fast during a long morning commute. | Preheat the hot container with boiling water for five minutes, dry it, fill it with very hot food, seal it immediately, and wrap the container in a towel before placing it in the bag. | A preheated container and an outer wrap reduce heat loss, so the food stays at a comfortable serving temperature for a longer part of the day. |
| Condensation from cold items is making the bread or crackers soggy. | Seal cold items in their own leakproof container, wrap cut produce in a dry cloth, and keep bread and crackers in a separate dry bag or wrapper away from the cold section. | Moisture moves through air and contact, so separating dry foods from cold wet foods protects their texture until you eat. |
Common Issues
- The hot container leaks and ruins the cold food.: Test the container with water before you use it for food, check that the seal and lid are seated correctly, and place the hot container inside a second sealed bag as a backup. If it still leaks, replace the seal or use a different container rather than risking the whole lunch.
- Cold food becomes warm by midday.: Start with thoroughly chilled food and a cold pack that has spent the night in the refrigerator. Use a smaller cold container so there is less air space, add a second cold pack if the bag has room, and keep the bag out of warm places such as a sunlit car seat or a hot desk drawer.
- The barrier shifts and hot and cold items touch.: Choose a barrier that is slightly larger than the gap, tuck its edges under the cold container, and fill any remaining empty space with a rolled cloth. Close the bag and turn it gently to confirm nothing slides before you leave.
Advanced Tips
- Freeze a small bottle of water or a sealed pouch of fruit overnight and use it as both a cold pack and a thawed drink or snack by lunchtime.
- Pack hot and cold components in separate small bags inside one larger bag, so you can remove only the cold section when you reach a refrigerator.
- Label the outside of each container with a simple mark or color so you can identify hot and cold sections quickly without opening everything.
Final Checklist
- Hot container is preheated, filled, sealed, and still warm on the outside.
- Cold items are thoroughly chilled, sealed, and resting against a cold pack.
- A dry barrier separates the hot and cold sections with no direct contact.
- The bag is closed snugly, nothing shifts when lifted, and no liquid has pooled inside.
FAQ
Can I pack hot and cold food in the same container?
It is better to use separate containers because one shared space allows heat and moisture to move freely between items. If you must use one container, choose a divided model with a sealed middle wall, and accept that temperatures will even out over time. Check your container instructions to see what it is designed to handle.
How long can I leave a packed lunch unrefrigerated?
That depends on the food, the starting temperature, and the conditions where you store the bag. Cold items should start well chilled and hot items should start very hot, and both should be eaten within a few hours. For specific guidance, check your local food safety authority or the instructions that came with your containers.
What should I do if the hot container feels cool before I leave?
Reheat the food to a hot temperature, preheat the container again with boiling water, dry it, and refill it right away. Then wrap the container in a towel and place it in the bag with a fresh barrier. If it still cools quickly, the container may not insulate well, so consider using a different one or eating that meal closer to packing time.