Cheese And Tomato Picnic Lunch Without Bread
A practical step-by-step guide to cheese and tomato picnic lunch without bread, including preparation, instructions, common issues, tips, and next steps.
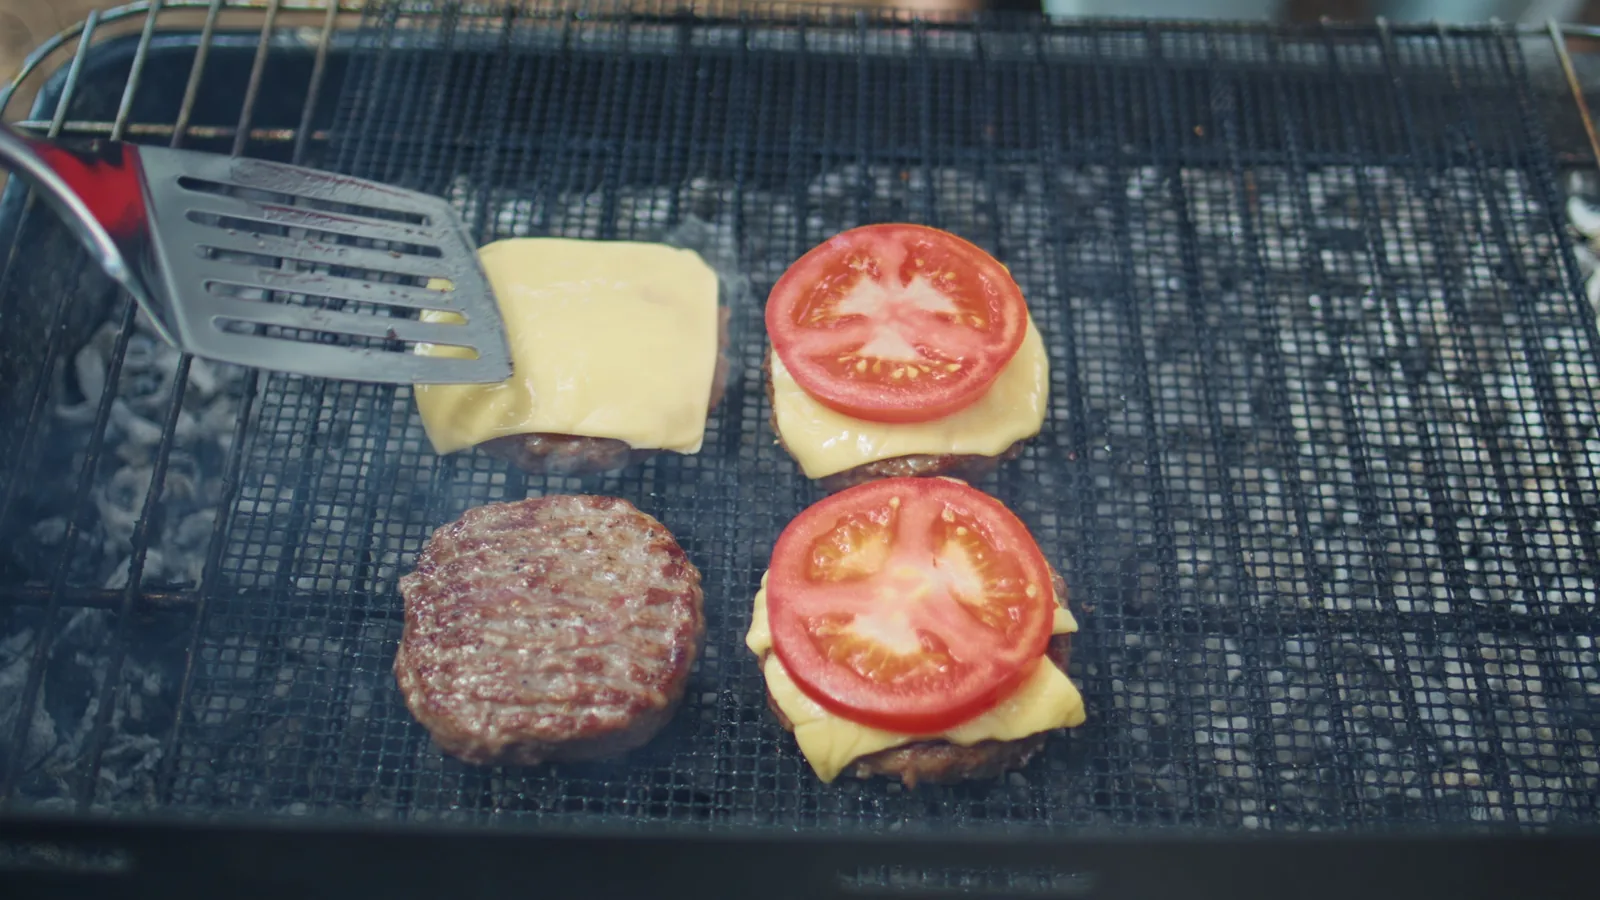
Cheese And Tomato Picnic Lunch Without Bread
A complete guide to assembling a satisfying cheese and tomato picnic lunch that skips bread entirely, using crisp vegetables, sturdy protein, and smart packing to create a balanced, portable meal that travels well and tastes fresh. This guide covers preparation, step-by-step assembly, common pitfalls, and practical checks for a confident outdoor lunch.
Fast Answer
- Build your lunch around thick tomato slices, firm cheese cubes or slices, and sturdy vegetable cups or lettuce leaves instead of bread.
- Pack wet ingredients separately, chill everything thoroughly, and assemble on site for the best texture and food safety.
Before You Start
- Choose firm, ripe tomatoes and firm cheeses that slice or cube cleanly without crumbling, such as a block of cheddar or a log of fresh goat cheese.
- Wash and dry all vegetables and herbs, then cut them into portable pieces that fit your containers without leaking or bruising.
- Pre-chill your cooler bag or insulated container with a frozen gel pack for at least two hours before loading food.
- Gather small leakproof containers for dressings, dips, and wet ingredients so they do not soggy the rest of the meal.
Step-by-Step Instructions
Choose and prepare your base vegetables
Start by selecting sturdy vegetables that can act as a base or scoop instead of bread. Romaine leaves, endive spears, thick cucumber rounds, and bell pepper halves all work well. Wash them under cool running water and dry them completely with a clean cloth or paper towel. Excess water will make your containers slippery and dilute the flavors. Cut the vegetables into pieces that are easy to hold and large enough to support a topping. For example, halve a bell pepper and remove the seeds, or separate romaine leaves and trim the tough ends. Place the prepared vegetables in a single layer in a shallow container. Check that each piece lies flat and does not overlap too much, because overlapping pieces trap moisture and cause wilting. This check matters because a dry, flat base keeps your lunch crisp and prevents the cheese from sliding off during travel.
Prepare tomatoes and cheese for transport
Slice firm tomatoes into thick rounds, about half a centimeter thick, and place them on a double layer of paper towel. Sprinkle a tiny pinch of salt on each slice, then cover with another paper towel and press gently. This draws out excess juice so your lunch does not turn into a puddle. For cheese, cut firm blocks into cubes or thick slices. If you use a soft cheese, keep it in its original wrapper or a small lidded container. Place the tomato slices in one leakproof container and the cheese in another. Do not combine them yet. Check that the tomato container is not more than half full, because stacking slices too high crushes the lower ones. This check matters because crushed tomatoes release more liquid and lose their shape, making the final assembly messy and less appetizing.
Make a sturdy protein or spread element
To make the lunch filling without bread, add a protein-rich spread or sturdy element. Mash a can of drained chickpeas with a fork, then mix in a spoonful of olive oil, a squeeze of lemon juice, and a pinch of salt. Alternatively, slice hard-boiled eggs or grill thin planks of firm tofu. Place your chosen protein in a small lidded container. If you use a spread, press it down with the back of a spoon to remove air pockets and create a level surface. Check that the container lid seals tightly by turning it upside down over the sink. This check matters because a loose lid can leak during transport, ruining the texture of your vegetables and making the cooler bag messy. A secure, well-packed protein element keeps the meal balanced and satisfying.
Assemble the lunch in layers
Now build the lunch in a container that will hold everything without shifting. Start with the dry base vegetables at the bottom. Add a layer of cheese cubes or slices, then a layer of tomato slices. If you have a spread, dollop it on top or keep it in a small container to add at the picnic. Do not toss or stir the layers. Instead, place them carefully so each ingredient stays distinct. Leave a little headspace, about two centimeters, so the lid does not press down on the food. Check that the container is not overfilled by pressing gently on the top layer; it should not touch the lid. This check matters because pressure from an overfilled container bruises tomatoes and crushes soft cheese, turning your neat layers into a mushy mix before you even arrive.
Pack the cooler for safe transport
Place your sealed containers in an insulated cooler bag with a frozen gel pack. Put the heaviest items at the bottom and the most delicate containers on top. Fill any empty space with a clean cloth or crumpled paper to stop containers from sliding around. Close the cooler and keep it out of direct sun. If you are driving, place the cooler in the passenger area rather than the trunk. Check the cooler after thirty minutes by feeling the outside; it should stay cool to the touch. This check matters because a warm cooler allows bacteria to multiply quickly on cheese and cut tomatoes, which can make you sick. A properly packed cooler keeps your lunch at a safe temperature until you are ready to eat.
Serve and enjoy without bread
At the picnic site, find a shaded spot and lay out a clean cloth or board. Open your containers and use the vegetable pieces as scoops or bases. Spoon the protein spread onto lettuce leaves, top with a tomato slice and a piece of cheese, then fold or roll if you like. Eat with your hands or use a fork if the filling is loose. Keep the cooler closed between servings to maintain a safe temperature. After eating, discard any perishable food that has been out for more than two hours, or one hour if it is hot. Check that you have not left any food in the sun. This check matters because warm leftovers are a food safety risk and should not be saved. Enjoy your fresh, bread-free lunch.
Quick Reference
| Situation | Action | Why it helps |
|---|---|---|
| You need to pack the lunch hours before eating | Keep tomatoes, cheese, and any wet ingredients in separate sealed containers in the cooler, and assemble only when you are ready to eat. | Separating wet and dry items prevents sogginess and slows bacterial growth, so the textures and flavors stay fresh until mealtime. |
| The weather is hot and you have no shade at the picnic spot | Add an extra frozen gel pack to the cooler, keep the lid closed except when serving, and plan to eat within one hour of setting out the food. | High temperatures speed spoilage, so a colder cooler and a shorter serving window reduce the risk of foodborne illness. |
| You want to add variety without bread | Swap the cheese type, change the vegetable base, or add a different protein such as eggs or chickpeas, but keep the same layered packing method. | Changing one component at a time keeps the meal balanced and prevents a new ingredient from making the lunch too wet or too heavy to carry. |
Common Issues
- Tomatoes become watery and make the lunch soggy: Slice tomatoes, salt them lightly, and let them drain on paper towels for ten minutes before packing. Store them in a separate container and add them to the base vegetables only at the picnic site.
- Cheese becomes soft and greasy in the cooler: Choose a firm cheese that holds its shape, cut it into thick pieces, and place it in a rigid container. Keep the cooler out of direct sun and avoid opening it more than necessary.
- Vegetable bases wilt and lose their crunch: Dry all vegetables thoroughly after washing, pack them in a single layer with a paper towel to absorb moisture, and keep them cool. Do not add dressing until you are ready to eat.
Advanced Tips
- Use a small silicone ice cube tray to freeze olive oil, lemon juice, and herbs; drop a cube into the container at the picnic for a fresh dressing as it melts.
- Wrap individual portions of cheese and tomato in vine leaves or lettuce leaves to create tidy bundles that are easy to hold and eat without bread.
- Pack a tiny salt grinder and a pepper mill to season tomatoes and cheese right before eating, which boosts flavor without adding liquid.
Final Checklist
- Confirm that all perishable items are chilled and packed with at least one frozen gel pack in an insulated cooler.
- Verify that wet ingredients are in leakproof containers separate from dry vegetables, cheese, and protein.
- Check that the cooler will stay shaded and that you can eat within two hours, or one hour if the temperature is above thirty degrees Celsius.
- Pack a small trash bag and hand wipes so you can clean up and leave no food scraps behind.
FAQ
Can I make this lunch the night before?
Yes, you can prepare most components the night before. Wash and cut vegetables, make the protein spread, and slice cheese, then store everything in separate sealed containers in the refrigerator. Keep tomatoes whole and slice them in the morning, or drain salted slices well before packing. In the morning, load the containers into a chilled cooler with a frozen gel pack. Do not assemble the full lunch until you are ready to eat, because the tomatoes and cheese will release moisture and soften the vegetables overnight.
What can I use instead of bread to hold the fillings?
You can use sturdy vegetable pieces such as romaine leaves, endive spears, thick cucumber rounds, bell pepper halves, or celery boats. These act as edible scoops or bases. For a more substantial bite, hollow out small tomatoes or use slices of firm cheese as a base. Another option is to layer the ingredients in a small jar or container and eat with a fork. Choose vegetables that are firm and flat enough to hold toppings without breaking. Always dry them well so the fillings do not slide off during transport.
How do I keep the lunch cold without a large cooler?
Use a small insulated bag with a frozen gel pack or a frozen water bottle. Place the bag in the coolest part of your vehicle, away from direct sun, and avoid opening it often. If you do not have a gel pack, freeze a damp sponge in a sealed bag and use it as a cold pack. You can also line the bag with a reflective emergency blanket. Check the temperature by touching the outside of the bag; it should feel cool. Eat within two hours of packing, or one hour if the weather is hot.